Survivor!.io is the massively popular new zombie escape game that requires you to load up on weapons and skills in order to get through each chapter alive. Not only do you have a wide variety of weapons and skills, but each one has its own set of evolutions. These evolutions are crucial to winning the battle, but you also have to know the right combination of weapons and skills in order to get each evolution.
We will also go over the statistical evolutions that you can find in the far right area of the lower menu. These evolutions have a much different effect than almost any other upgrade that you can do within the game, especially other permanent upgrades.
Read on for a full multi-part guide and list of weapons and their evolutions, skill weapon evolutions, statistical evolutions, and what they do and how they differ from the original skill in Survivor!.io!

ALL SKILLS EVOLUTIONS:
Football/Soccer Ball: this evolves into the Quantum Ball. The method of attack is very similar to the soccer ball, except there are more of them and they do more damage. You need Sports Shoes/Sneakers in order to get this evolution.
Another feature of this evolution is that the balls tend to all disappear and reappear at once, which doesn’t happen before you evolve the soccer ball. Additionally, the balls split when they hit an enemy, causing them to explode outward and do damage to even more enemies. On top of all of that, they have a much larger radius for better targeting.
Brick: This evolves into the Dumbbell. The Dumbbell shoots out in a circular pattern from your character, eight at a time, and does significant damage.
This one also does a significant amount of area damage, because the projectiles do not disappear no matter what they hit and what is in their path. You need the Fitness Guide for this evo.
Type-A Drone and Type-B Drone: These evolve into the Destroyer, which shoots massive amounts of missiles into multiple directions. These require no green skills to evolve, and when you evolve them, you empty a weapon slot. You must have both of these in order to do the evolution.
Another feature of this evolution is that the destroyer drone never takes a break or pauses. It keeps the missiles raining down constantly with absolutely no breaks. Not only is this excellent for getting rid of large mobs, but due to the extremely massive quantity of projectiles, this can actually do completely absurd amount of damage to bosses, and is majorly overpowered in boss fights.
RPG: You need the HE Fuel to unlock the ability to evolve this into the Sharkmaw Gun. The Sharkmaw Gun acts similarly to the RPG, but with a wider area of effect and a different look. Plus, the missiles do an absolutely MASSIVE amount of damage, making this especially effective against bosses.
One downside of this evolution is that the missiles move far more slowly afterwards than they do beforehand. This can make it somewhat frustrating to try to aim them; also, the timing of the shots is inconsistent.

Forcefield: you need the energy drink skill to evolve this into the Pressure Forcefield. The Pressure Forcefield is simply a pallette swapped version of the original one, and, of course, deals more damage.
One difference, however, is that after the evolution, the force field will slow enemies down when they enter it. Previously, their speed would not change at all, but now, they will slow down to about half the speed.
Guardian: Requires the Exo-bracer to evolve into the Defender. The Defender is simply a color swapped version of the Guardian, with larger blades and more damage. However, it also has the added bonus of stopping bullets, which provides a significant hedge of protection against enemies or bosses that use a lot of projectile attacks.
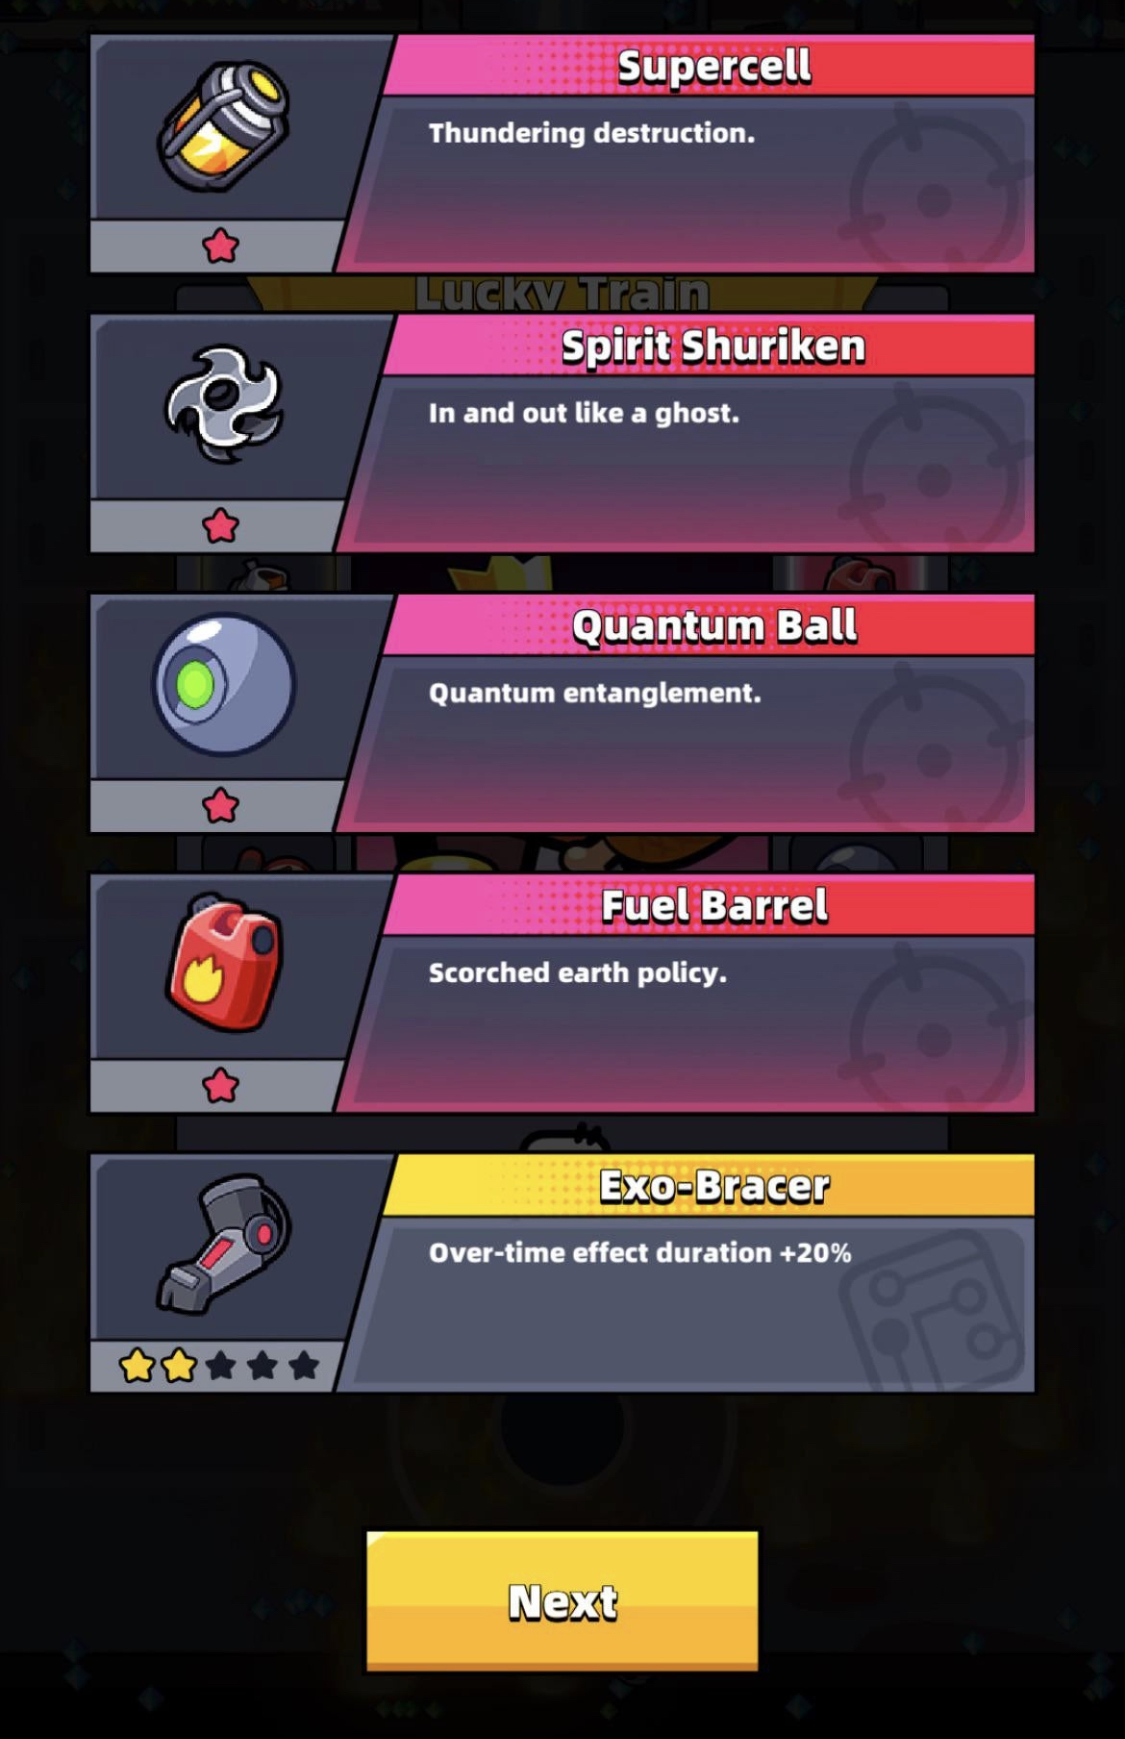
Lightning Emitter: Requires the Energy Cube to evolve into the Supercell. The Supercell deals more damage and has a larger area of effect. Due to the considerable amount of damage and the auto-targeting, the Supercell is considered especially effective against bosses.
Additionally, even compared to the most highly upgraded version of the Lightning Emitter, the Supercell fires off significantly more bolts at a time, making it seem like it’s constantly attacking the field.
Durian: The Durian requires HE Fuel to evolve into the Caltrop. The Caltrop bounces diagonally around the screen in a similar manner to the Durian, but it also shoots out a number of less powerful missiles constantly in a circular manner.
Despite the fact that the missiles have less power, the sheer number of them makes this a very effective weapon against large mobs. Plus, it’s fairly easy to Luer bosses into smashing into it by accident, for the most part, which will do a significant amount of damage.
Laser Launcher: The Laser Launcher requires the Energy Cube to evolve into the Death Ray, which shoots outward in a spiraling, circular motion from your character, and it does far more damage than the original weapon did.
The way that it appears on the screen, though, can be a little bit visually overwhelming, so when you have this evolution, make sure that you are staying extra focused whenever it launches off.
Molotov Cocktail: Requires the Oil Bonds to evolve into the Fuel Barrel. The Fuel Barrel does more damage and has a larger area of effect compared to the original Molotov. additionally, there are far more patches of fire that are released, making it easier to engulf larger amounts of enemies at the same time.
Drill Shot: Evolves into the Whistling Arrow. In order to do this evolution, you need to have the Ammo Thruster. The Whistling Arrow spirals outward from your character and hits anything in its path with heavy damage. it continues flying around endlessly.
Think of the whistling arrow that Yondu uses in Guardians of the Galaxy, and this arrow does exactly the same thing. Additionally, when you come to a boss battle and the boss is the only enemy on the screen, the arrow attacks them constantly, in rapid fashion, without you having to do anything.
Boomerang: Requires the High Power Magnet to evolve into the Magnetic Dart. The Magnetic Dart spirals outward from your character to do damage to a wide swath of enemies. Think of it as a reverse version of the Death Ray; if you unlock both of them at the same time, though, you can put the enemy in a world of hurt.
ALL WEAPONS EVOLUTIONS:

Baseball Bat: Requires the Fitness Guide and evolves into Lucille. Lucille looks similar to the original attack pattern, but simply has a much larger area of a fact with a different color.
Katana: Requires Ronin Oyoroi to evolve into Demon Blade.
Kunai: Requires the Koga Spirit Scroll to evolve into Ninja Shuriken. This one fires out far more rapidly after evolving, allowing it to do far more total damage, although the effectiveness can be a little bit limited in area damage settings.
Shotgun: Requires the Hi Power Bullet to evolve into the Gatling Gun. This changes the style of shooting entirely, and makes it so that it is a consistent machine gun that never has to reload.
Revolver: Requires the Hi Power Bullet to evolve into the Reaper. The bullets look the same and fire the same, but do a far greater amount of damage.
Lightchaser: Requires the Ronin Oyoroi to evolve into the Eternal Light.
Previously, we went over the evolutions for all of your weapons and your skills; that is not all that useful in this game, though. There is the evolution guide from the main menu itself, containing the various evolutions that you can purchase using gold in order to boost your stats. These stat boosts come regardless of what equipment you use, making them extra important.
You have regular evolutions, which you can purchase using gold, and key evolutions, which you can purchase using gold DNA, earned from the trials. As follows, here is a rundown of what they all do.
Strength: Increases your attack power with each purchase. The amount of additional attack power that you gain increases with each experience level that you gain.
Stamina: increases your hit point count. Just like above, the amount that you gain increases with each experience level that you get, although the cost will also increase.
Tenacity: increases your armor, which allows you to take less damage with each hit.
Restoration: increases the amount of hit points that you get back whenever you pick up meat. This, intern, increases the percentage of health that you get back.
These are the four standard evolutions. These evolutions will continue looping over and over one time for every experience level that you gain, up until experience level 80. These will end up requiring a ton of gold, but they will be well worth it.
Next up are the key evolutions, which can be purchased using gold DNA, and have a far more diverse set of benefits that are offered with them. These can give you the edge in especially tough battles, and the benefits cannot be duplicated by any other type of boost that occurs within the game. As follows, the key evolutions are:
Lucky Dog: if you purchase this, then you automatically get one free skill at the start of the battle. You will automatically be able to pick that skill without having to pick up any stones.
Rogue: this will allow you to reselect one skill per battle, right before the boss battle. This will allow you to get rid of a skill that you don’t like and potentially replace it with a skill that you do like, or to rework your list of skills in order to come up with something that works better for the second half of a level.
Athlete: this will permanently increase your base movement speed by one. It’s pretty self-explanatory, and there is not a whole lot of complication to it; it simply makes you faster, which makes it easier to avoid running into enemies or getting shot.
Meat Lover: if you unlock this evolution, then it will increase the amount of healing that you get when you eat a piece of meat. Maximizing your health is always important, but this becomes extremely important when you get to the point of having sky high hit points.
Seeker: this causes a piece of equipment to drop whenever you defeat a boss or a mini boss. Typically, the equipment will not be super rare, but overtime, this will give you the ability to earn far more equipment, especially when you replay shorter levels.
Owl: if you unlock this one, then it will increase your circle of sight on stages where there is darkness, especially third wave trials stages. The farther out that you can see, the easier that it will be to determine where the enemies are and avoid them or hit them.
Devourer: this causes bosses to drop meat after you defeat them. This is excellent for healing after a tough battle, because later on in the game, bosses will summon more under s and use more and higher frequency attacks, meaning that you will often finish the boss battle with your health severally diminished. Healing right after the battle will prevent you from losing and having to either watch an advertisement video or start over right after you beat the boss.
Zealot: when you take lethal damage, you will be granted two seconds of invincibility. Particularly useful for those times when you literally came a second away from beating the boss and then got defeated, or those times when you got to the tail end of a very large mob and then lost.
Greedy: when defeated, monsters will drop gold. This may apply to all monsters, but especially bosses. This is an easy way to rack up extra gold so that you can upgrade your equipment and your weaponry at the end of the round, moms boss; either way, it’s extremely useful in the tougher parts.
Blessed: when you level up during a battle, you are healed by 20% of your health. This can happen at any time during the battle, whether you are in the middle of fighting a mob or in the middle of fighting one of the bosses. This can be extremely useful when you are near the point of fainting.
Researcher: monsters drop a design when they are defeated. Designs, of course, or what allow you to upgrade your equipment. This will allow you to upgrade your equipment to higher levels faster then you otherwise would have been able to.
Expose weakness: gives your hits a significant increase in the critical hit rate. This is especially useful against bosses, not so much against giant mobs of enemies, although it still is beneficial either way.
Divine Strike: gives you a chance at doing 10 X damage when you land a hit. basically, similar to a critical hit, but with a significant amount of extra damage beyond what a critical hit would do.
Watchmaker: increases the base statistics of all of your equipment by 5%. this applies no matter what piece of equipment you have equipped, what rarity, and how high the level is; it all gets the same percentage multiplier.
Fusion Effect: increases the size of all of your projectiles by 5%. This makes it far easier to deal area damage to large mobs of enemies especially.
Quantum Accel: increases the speed of all of your projectiles by 5%. To be honest, this difference is not a very easy one to notice. He will only noticed this if you are really looking for it.
Viva la Materia: increases the damage dealt by every one of your skills by 5%. This is useful against every single different type of enemy, but especially against bosses; although it can often mean the difference between destroying mobs in one hit versus two hits.
Overreaction: Skill cooldown time decreases by 5%. this, of course, enables you to bombard enemies with more attacks at a faster rate of speed, which makes it far easier to win.